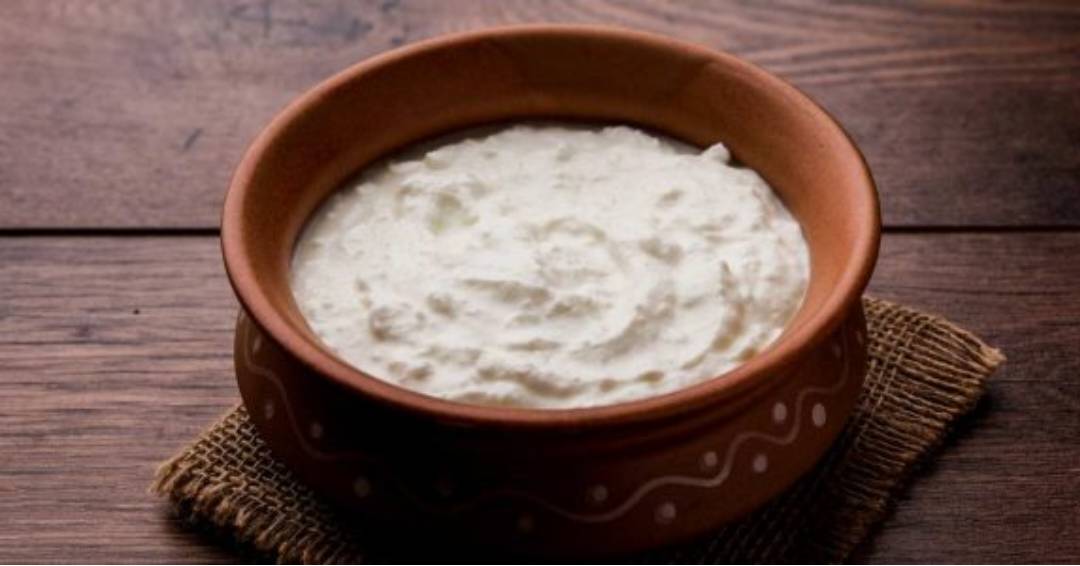
Homemade curd, also known as yogurt, is a versatile and nutritious dairy product enjoyed worldwide. While it’s readily available in stores, making curd at home can be a rewarding and cost-effective option. However, many individuals struggle to achieve the perfect texture and taste. In this feature, we’ll share some simple yet effective tricks to ensure your homemade curd turns out firm, creamy, and packed with flavor.
1. Choose the Right Milk:
The foundation of excellent curd starts with selecting the right milk. Opt for fresh, full-fat milk as it contains the necessary proteins and fats for a creamy texture. Avoid ultra-pasteurized milk, as it may yield inconsistent results.
2. Use a Starter Culture:
A crucial element in curd-making is the starter culture, which kickstarts the fermentation process. You can use store-bought plain yogurt with live cultures as a starter, or reserve a small portion from your previous batch of homemade curd.
3. Maintain Ideal Temperature:
Fermentation occurs at a specific temperature range, typically between 110°F to 115°F (43°C to 46°C). To maintain this temperature, you can use a yogurt maker, a warm oven with the light on, or even wrap the container with a thick towel and place it in a warm spot.
4. Time It Right:
The fermentation process may take anywhere from 4 to 8 hours, depending on the room temperature and the desired tartness. Check the curd after 4 hours and leave it to ferment longer if a tangier taste is preferred.
5. Avoid Disturbances:
Once the milk is mixed with the starter culture, avoid stirring it too much. Disturbances can hinder the curd-setting process and lead to a runny consistency.
6. Use a Clean Container:
Always use a clean and sterilized container to set the curd. Any residual soap or grease can negatively impact the fermentation process.
7. Add Milk Solids (Optional):
For an even thicker and creamier curd, consider adding milk solids (khoya) to the milk before heating it. This will enhance the richness and consistency of the final product.
8. Don’t Overheat the Milk:
When heating the milk, do not bring it to a rolling boil. Gentle heating is sufficient to kill harmful bacteria and preserve the beneficial ones required for curd formation.
9. Wrap and Set:
After mixing the starter culture, cover the container with a lid or plastic wrap to retain warmth and moisture. Allow the curd to set undisturbed during the fermentation process.
10. Refrigerate Properly:
Once the curd has set to your liking, refrigerate it immediately to halt the fermentation process. This will maintain the desired texture and taste.
By following these easy tricks, you can ensure a consistent and delightful experience when making homemade curd. Experiment with different milk types and fermentation times to find your perfect balance of creaminess and tanginess. Enjoy the goodness of homemade curd as a standalone snack, in refreshing smoothies, or as a delightful accompaniment to various dishes. Happy curd-making!

Post Your Comments