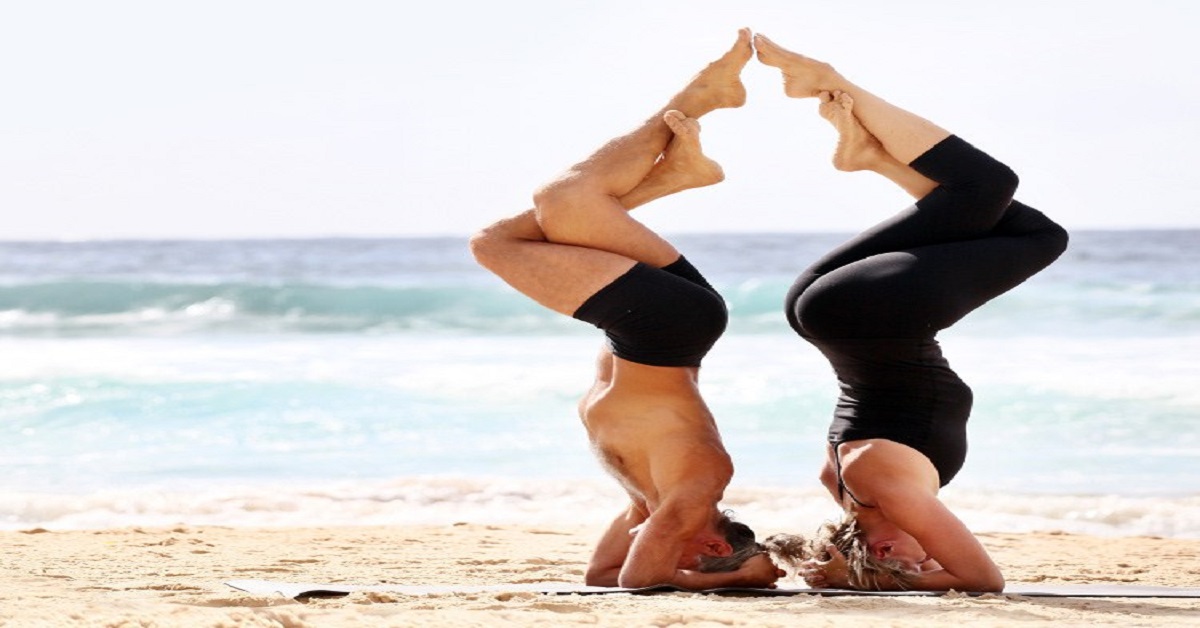
In this yoga session, we are going to introduce a slightly difficult yoga pose.
Crane (Crow) Pose
A compact arm balance, Bakasana tones and strengthens the abs and arms.
(bahk-AHS-anna)
baka = crane
Crane (Crow Pose): Step-by-Step Instructions


Step 1
Squat down from Tadasana with your inner feet a few inches apart. If it isn’t possible to keep your heels on the floor, support them on a thickly folded blanket. Separate your knees wider than your hips and lean the torso forward, between the inner thighs. Stretch your arms forward, then bend your elbows, place your hands on the floor and the backs of the upper arms against the shins.
Step 2
Snuggle your inner thighs against the sides of your torso, and your shins into your armpits, and slide the upper arms down as low onto the shins as possible. Lift up onto the balls of your feet and lean forward even more, taking the weight of your torso onto the backs of the upper arms. In Bakasana you consciously attempt to contract your front torso and round your back completely. To help yourself do this, keep your tailbone as close to your heels as possible.
Step 3
With an exhalation, lean forward even more onto the backs of your upper arms, to the point where the balls of your feet leave the floor. Now your torso and legs are balanced on the backs of your upper arms. As a beginner at this pose, you might want to stop here, perched securely on the bent arms.
Step 4
But if you are ready to go further, squeeze the legs against the arms, press the inner hands firmly to the floor and (with an inhalation) straighten the elbows. Seen from the side the arms are angled slightly forward relative to the floor. The inner knees should be glued to the outer arms, high up near the armpits. Keep the head in a neutral position with your eyes looking at the floor, or lift the head slightly, without compressing the back of the neck, and look forward.
Step 5
Stay in the pose anywhere from 20 seconds to 1 minute. To release, exhale and slowly lower your feet to the floor, back into a squat.
READ ALSO: Yoga: a step to take care of your body
Pose Information
Sanskrit Name
Bakasana
Pose Level: 1
Contraindications and Cautions
Carpal tunnel syndrome
Pregnancy
Modifications and Props
Some students have a difficult time lifting into Bakasana from the floor. It’s often helpful to prepare for this pose squatting on a block or other height, so that your feet are a few inches off the floor.
Deepen the Pose
The full pose sometimes causes varying degrees of pain in the wrists. Instead of spreading the fingers on the floor, curl them slightly. This should take some of the pressure off the wrists.
Preparatory Poses
Adho Mukha Svanasana
Baddha Konasana
Balasana
Plank Pose
Virasana
Follow-up Poses
Adho Mukha Svanasana
Chaturanga Dandasana
Plank Pose
Beginner’s Tip
Beginners tend to move into this pose by lifting their buttocks high away from their heels. In Bakasana try to keep yourself tucked tight, with the heels and buttocks close together. When you are ready to take the feet off the floor, push the upper arms against the shins and draw your inner groins deep into the pelvis to help you with the lift.
Benefits
Strengthens arms and wrists
Stretches the upper back
Strengthens the abdominal muscles
Opens the groins
Tones the abdominal organs
Partnering
A partner can help you learn to balance in Bakasana, especially if you are reluctant to lean forward and take your feet off the floor. Squat in the ready position, hands on the floor, up on the balls of your feet. Have the partner stand in front of you. As you lean forward he/she will support your shoulders with his/her hands, to prevent you from toppling forward onto your face or head. Stay for a few breaths, getting a taste for the balanced position, yet secure in the hands of your partner.
Variations
The most accessible variation of Bakasana is a twist: Parsva Bakasana (pronounced PARSH-vah, parsva = side or flank).
Squat as described above, but keep your knees together. Exhale and turn your torso to the right, bracing the left elbow to the outside of the right knee. Work the arm along the knee, until the knee is firm against the upper arm, near the armpit. Set the hands on the floor, lean to the right, and lift the feet off the floor on an exhalation, balancing with the outer left arm pressed against the outer right leg. Straighten the arms as much as possible, though no doubt for most students the elbows will remain slightly bent. Hold for 20 to 30 seconds, exhale back to the squat, and repeat to the left for the same length of time.

Post Your Comments